
Are the obligatory dimensions for social media images on each channel making you crazy? They’re sure making me nuts.
I mean, social media updates happen in real time. Who on earth can remember what dimensions each image should be so it shows up well on Facebook, Twitter, LinkedIn, Google+ etc? Especially when you’re often choosing images for your blog from a stock image site?
So I thought I would come up with some guidelines to ensure that your image gets displayed in the best way possible, no matter which social media channel you post it from.
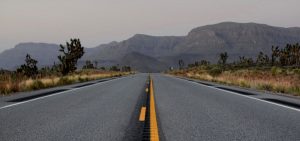
1. Use landscape images, not portraits
If you use images that are longer vertically than they are wide, you’re begging for them to get cut off in Facebook and Twitter. These two channels, especially, cut off images that are too long, making the top and bottom impossible to see in social media.
So if you share infographics, which are usually long, vertical images, you need to give your audience a very good reason to click through, so they can view it. Or else just upload the entire image to Facebook, so it will be displayed in toto.

2. Make sure the image is large enough
When you upload the image to your blog or website, make sure it is a minimum of 450 to 600 px wide so that it gets pulled into the newsfeed and displayed properly. Smaller images, like the one below, will be displayed as a thumbnail and will not get your post the attention it deserves.

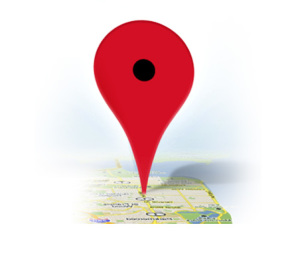
3. Make sure the main elements are in the center of the image
If you use an image that requires the edges to be visible in all social media channels, you will be disappointed. Facebook and Twitter often don’t display the complete image truncating the bottom and top, like so.

Make sure none of the most important elements in the image are too close to the edges. Ensuring that the main elements are in the center of the image will make sure they don’t get chopped off or truncated and will be visible in all social media channels.

4. Use an open graph plugin on your blog
I use the WP Open Graph plugin to ensure that Facebook pulls in the right image and displays it properly in my blog post. You can use this or any other plugin that performs the same function.
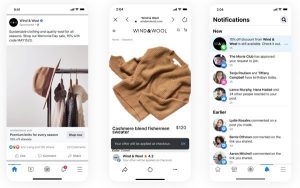
5. Get a professional image designed for your blog post
If you have the time and the resources, you can go all professional, and have a designer create the perfect image, with the ideal dimensions, for your blog post.

Images like the one above, created by SocialMediaExaminer.com, usually follow all the guidelines I’ve outlined, display beautifully in all social media channels, and help brand their content too.
The image I created at the start of this blog post was made in Powerpoint. That’s about as quick and dirty as you can get!
Follow these quick and dirty guidelines above, and you’ll no longer have to gamble on how your social media images are displayed to your audience. Start using them now and may the odds be ever in your favour.
(172)