— February 13, 2018
This is part 2 of Quick Tips Regarding Reusing Website Content Part 1
If you are not already using video marketing on YouTube, now is the time to begin.
Re-use your best content
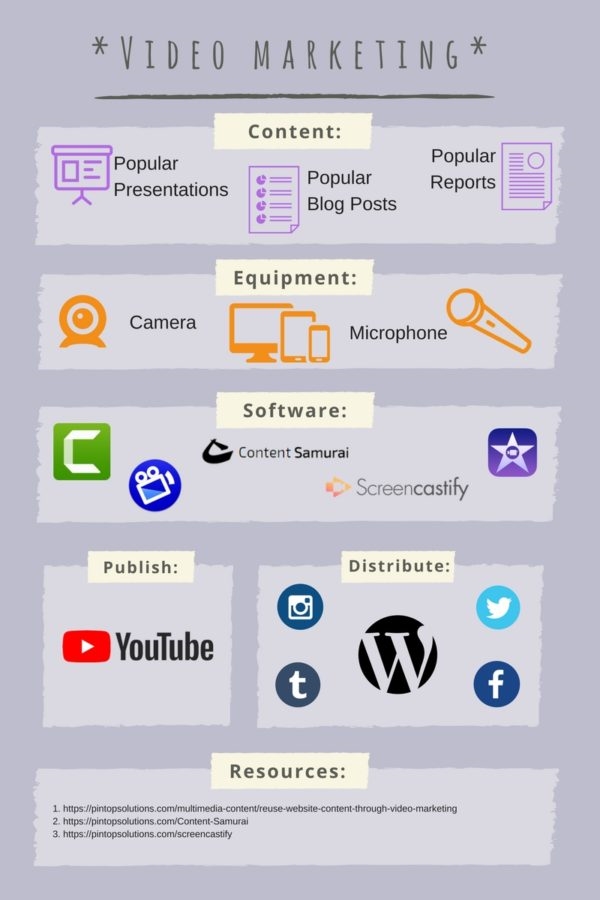
Look at your traffic logs and see which are your most popular pages and blog posts. Have any popular presentations you’ve used in the past? Now is the time to transform your best content into videos.
Scripting
Every video should have a script or some sort of storyboard or sequence of what will be covered. Use content you are reusing your script. Then you will know what to say and shoot once you start filming.

Equipment
Many Smartphones and tablet computers have high-quality cameras build right in. Otherwise, consider investing in a digital camera with photo and video capability. If you don’t want to be on camera skip the camera and just make sure you have a decent mic, such as a Blue Yeti USB Microphone or an Audio-Technica ATR2100.
Editing Software
Camtasia is perfect if you have a PC and iMovie or Screenflow for a Mac. An even faster solution is to use an in-browser screen recorder such as Screencastify or an intelligent video creator such as Content Samurai.
Quick and easy content conversion
If you have a great PowerPoint deck or similar content and hate the idea of appearing in front of the camera, record audio for each slide, save it as an MP4 file, and you have a video.
Better yet, let Content Samurai cut your text up into professional slide layouts and format your text. Content Samurai will intelligently suggest and add images for you. Then you just record audio for each slide.
Publishing your video
Once you have your video file, make it available to your audience via YouTube. First, you need to set up a free YouTube channel. The easiest way to do this is through a free Gmail account, which will give you one username and password for the many free marketing tools Google has to offer.
Make your listing look great
Write a great title, description and tags or keywords you know the people in your niche use, in order to make your content easily discovered by your target audience. Set your file to Public so it can be viewed by anyone on YouTube and will be discoverable on search engines, as well.
Next, choose a Playlist. Think of it as a radio station or show on your channel. Use keywords, as well.
A Public video will automatically be shared on Google+ and Twitter, making it easy to spread the word on social media.
When you upload the video, there are 4 tabs:
- Basic Info
- Translations
- Monetization
- Advanced
All of your most important information will go on the first tab. Click on translations if you want to add content in a different language. In terms of Monetization, you can run ads and make money from your videos. You need to be a member of the free AdSense program, also available through your Gmail account. On the Advanced tab, you get to choose if you want to turn comments on or off, and the category and date for your video. The comments can spur a lot of traffic, and choosing the right category can help your content get discovered.
Embedding your content at your site
Once the video is uploaded and you hit publish, you will see a Share box. The code in the window is the default and can be used for WordPress. Otherwise, click the Embed tab and copy and paste that code into an HTML webpage.
When your visitors land on the page, they will see a video player with an arrow for play, buttons for pause, and so on. Share your videos on Instagram, Twitter, Facebook, LinkedIn and so on for maximum exposure.
Digital & Social Articles on Business 2 Community
(59)


